
These kits are based on the DSP Split layout where the designer paper layer is cut to 5.25x4 inches then cut again at 3.5 inches. One of the pieces is turned over and the pieces are taped together on the back. A ribbon is laid across the join and the ends are taped to the back of the DSP layer. This layer is then adhered to the card front. This is a versatile layout as you can see it can work tall or wide with the narrow piece on the left or right. With alternating the combo on the double sided paper each card can be different.

For this card I chose 2 different designer paper to use with the Stampin Up Scallop Circle accent. I chose black card bases for both papers. The designer papers feature floral on one side and stripes on the other.
The one shown on the left is October Afternoon - Sidewalks - Hide and Seek. The other paper was from a pad for which I do not have the details and features blue, ivory and green as colors.
I chose the same light blue stitched grosgrain ribbon for both designer papers.
The greetings were printed on ivory card stock in black and punched with the Stampin Up 1.25 inch circle punch. The scallop circles were all punched from black card stock to match the card. They are adhered to the card front with 3D foam tape position over the ribbon.
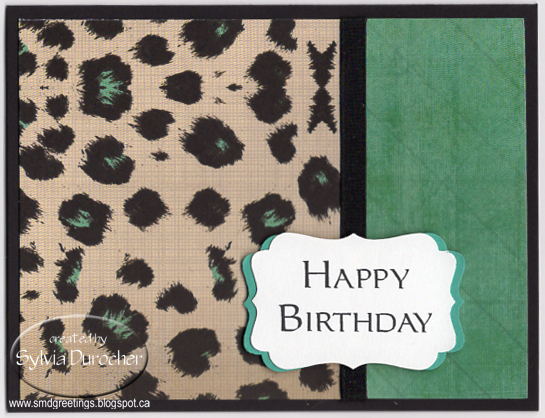
For this card with the Decorator Label I chose 2 designer papers. The one shown is by Heidi Swapp - Sugar Chic - Fabulous. The other is by Kaiser Craft - Secret Bird Society Collection - Mystery.
The card base is black with black grosgrain ribbon across the join.
The greeting is created with a solid card stock offset behind the black greeting on white card stock. They were punched with the Stampin Up Decorator Label punch. The solid one is cut in half on the short side then the points of the straigth edge are trimmed off. These are then adhered to the back of the greeting offset on the right and left sides. Once assembled 3D foam tape is placed on the back and it is adhered to the card front over the ribbon.
No comments:
Post a Comment
Thanks for visiting. I love to read your comments.