This is the first time I found Foxglove in the neighborhood.
There were quite a few in a side flower bed.
I found this lovely light purple color and bright pink ones as well.
I am so lucky to have neighbors who are flower growing.
The Cliff House by RaeAnne Thayne is a book I finished this week.
Daisy an Beatriz Davenport lived with their aunt Stella in Cape Sanctuary after their parents passed away. She has provided a good home for them with all they needed.
Beatriz pushed the boundaries, got in trouble, married and had a baby way too young. Daisy was quiet, sensible, rational, and financially prudent.
They still live near each other. Bea with her daughter Marisol. Daisy had married and her husband passed away after a few years and she was left his house overlooking the ocean.
The ex-husband returns with the man who saved his life and they each cause ripples in the these girls' loves. Stella is surprise to find a man she gave up when the girls came to live with her has returned to Cape Sanctuary. Most of the story lines were good.
It was an exciting day on Wednesday June 4 2025 because I took possession of my new to me home.
I worked with a great agent who was with all the way through hoops and loops but we got there.
I have a lot to get done before I can move in.
Oh yeah, the Stanley Cup Final starts today as well.
I know its going on but I don't have time for it.
We will see what the final outcome is.
There were a few things I found left behind that were interesting.
Mirror tiles still stuck to the walls. Many things were left on the walls when removed left a gluey mess.
A baseball, a guitar pick and even a 100 hundred dollar bill was found when the carpet was removed.
There was a lot in this place so I am not surprise not all of it left with the tenants.
There was not so great stuff left behind as well.
There was food in every corner of the kitchen.
Most surfaces had oil, greasy spots, and evidence of cooking left behind.
The drip pans in the stove were just replaced rather than trying to clean them. The clean up when I lifted the top of the stove was liquid, crusty, and totally disgusting.
Every inch of this place will need to be cleaned.
The possession date had been pushed back two days to allow for cleaning. I am not sure what was cleaned.
I am grateful the plumbing for the sinks was done.
I had the door rekeyed as well as the mail box key replaced.
Just a safety thing to ensure no one has keys laying around for my place.
I only received one FOB for the building so I had to purchase another.
Mark was nice enough to deliver one to me.
Great job.
This product was recommended by my sister to clean the not so clean tub.
Scrubbing Bubbles worked so well.
It is taking a lot of elbow grease and my right arm is very sore.
Lots of cleaning cloths, paper towels and cleaners.
The kitchen cupboards came out great after having a layer of oil and grease removed.
The laundry room had a layer of liquid laundry soap in the corner I scrapped off with a 9 in 1 tool.
I was very disappointed when I could not find a way to turn the shower on to rinse the tub after its first go round of cleaning.
After getting in touch with the inspector Colin he explained that it was a ring on the spout that diverted the water to the shower.
Who knew? Certainly not me.
I tried it the next day after the second scrubbing session on the tub.
Success! Thanks Sarah and Colin.
I took all the baseboards off around that disgusting carpet.
That was the preparations for the carpets to be gone.
The carpets are gone!
The adhesive and the gunk is also gone.
The crew of Joey and Mario did a great job.
On to painting before the crew comes back to install the vinyl floor.
The 2 man crew of Ben and Andre arrived early Saturday morning and we got to work.
I was just able to keep ahead of them to get all the glue off the walls where stuff had been stuck to the walls. The grease stains on the walls from who knows what.
They will be back next week to finish up.
I am a hurting and exhausted person.
Sunday is a day of rest so I can continue next week.
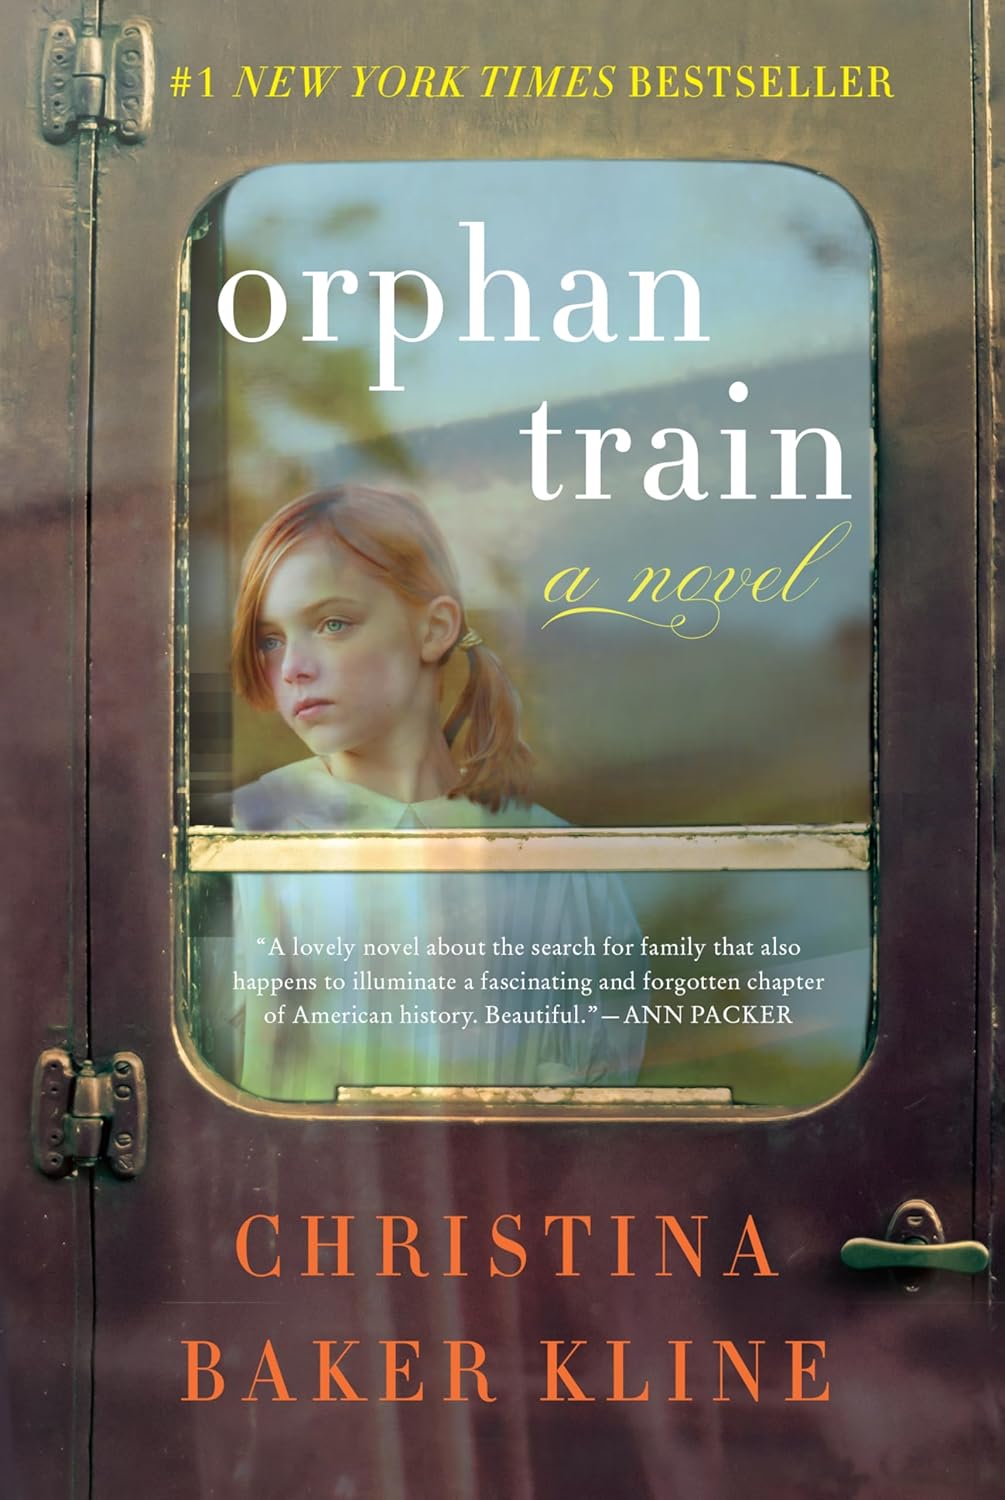
The Orphan Train by Christina Baker Kline was a book I finished before the insanity of this week started on Wednesday.
Vivian Daly, an Irish immigrant lived in New York in 1929. Within less than a year of arriving there was a fire in their building and most of the family was lost.
Vivian finds herself on a train heading west to find a new home. She has several. Some where she is abused and some where the adoptive parents were loving and supportive.
Molly Ayer is 17 years old who has been in trouble with the law. She is assigned community service as a consequence. She comes to help Vivian now and elderly widow go through the keepsakes and stuff in the attic.
They learn from each other and come to be family in a way. Great read!